


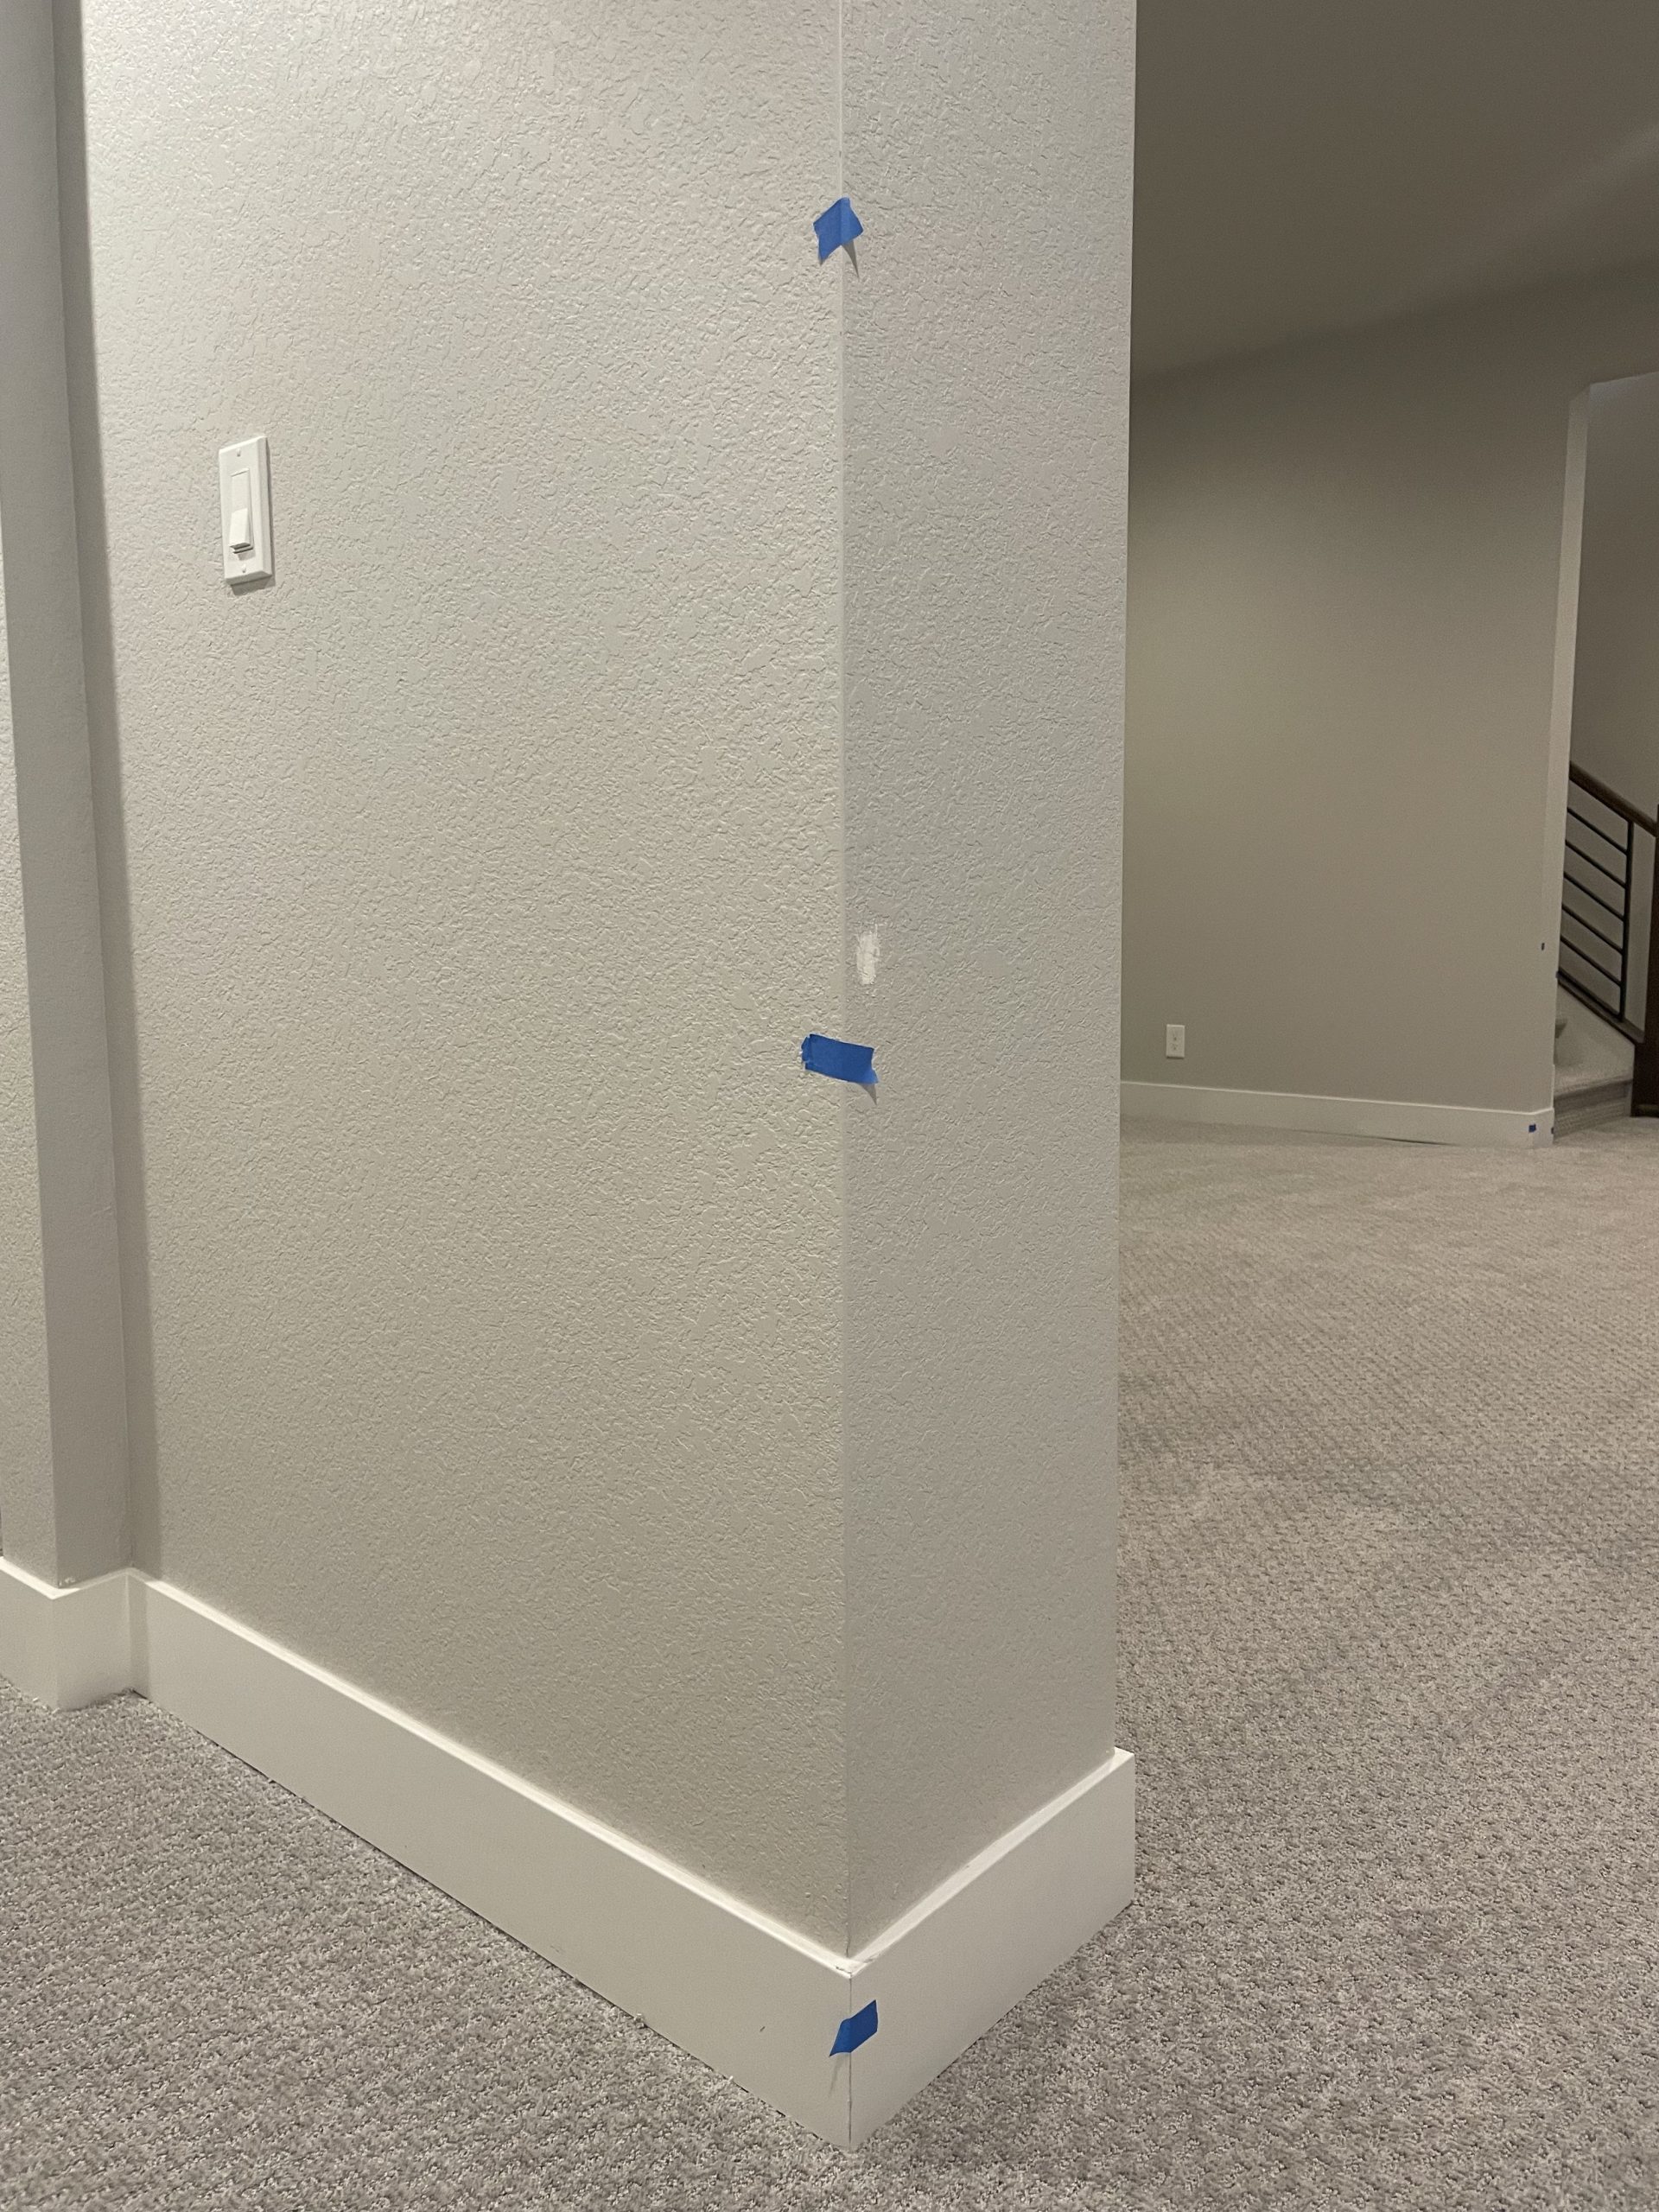
Buying a brand-new home in Las Vegas or Henderson is one of the most exciting things you can do — but it also comes with a unique set of steps that a typical resale purchase doesn’t require. One of the most critical, and most overlooked, is the Dusty Shoe Inspection — also called the pre-drywall inspection. It happens at a very specific moment in the construction timeline, and if you miss it, you lose it forever.
At Premier Homes, our new home specialist walks every new construction client through this process before they ever set foot on a builder’s lot — because knowing what to look for, and when, is the difference between a smooth closing and a years-long headache hidden behind painted walls.
Important: Register Your Agent Before Your First Builder Visit
Before you visit any new home builder’s sales office or model home — even just to browse — you must bring your Premier Homes Real Estate agent with you on that very first visit. Builders will not allow a buyer’s agent to be registered after the initial visit. If you walk in alone first, you permanently lose your right to representation from that builder. This is one of the most important things we tell every new construction client before they start touring.
What Is the Dusty Shoe Inspection?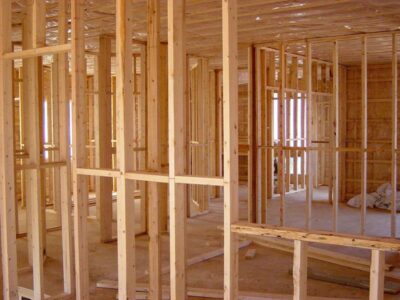
The pre-drywall inspection takes place after framing, rough-in electrical, rough-in plumbing, and HVAC ductwork are all complete — but before a single sheet of drywall is installed. At this stage, the home’s skeleton is fully exposed. Every wire, every pipe, every duct run is visible and accessible for inspection.
It gets its name simply from the job site conditions — it’s dusty, it’s active, and you’ll want to wear closed-toe shoes. But don’t let the rough conditions fool you: this is arguably the single most valuable walkthrough you’ll do during your entire new construction purchase.
Once drywall goes up, those systems are sealed inside the walls for the lifetime of the home. If there’s a problem — a misrouted duct, a missing outlet, a pipe in the wrong location — finding it after drywall means cutting through finished walls to fix it. Finding it before means a quick correction before any finishing work begins.
What to Bring to Your Pre-Drywall Walkthrough
Come prepared — this isn’t a casual stroll. Bring:
- A flashlight or headlamp — wall cavities and corners are dark
- Your phone or a camera — photograph every wall cavity before drywall covers it; these images are invaluable if you ever need to locate a wire or pipe years down the road
- A copy of your floor plan and all signed change orders — you’re verifying that what was built matches what you paid for
- A tape measure — useful for confirming rough opening sizes for windows and doors
- An independent home inspector — the builder’s inspector works for the builder; your inspector works for you. The cost is minimal compared to the protection
What to Check Before Drywall Goes Up
Here is a room-by-room breakdown of what to examine during your pre-drywall walkthrough:
 Framing
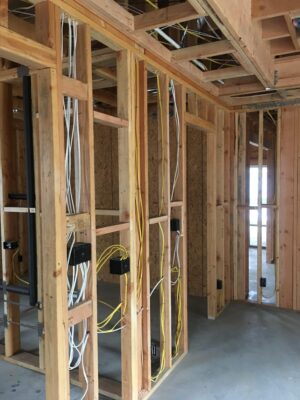
Walk through every room and visually compare the framing to your floor plan. Look for cracked, warped, or missing studs, and verify that window and door openings are the correct size and properly positioned. Check that load-bearing walls are framed correctly and that no wood shows signs of moisture damage or mold — especially important in a desert climate that still sees monsoon moisture each summer.
Electrical Rough-In
Confirm that outlet and switch box locations match your floor plan. Verify the electrical panel location is accessible, and that all wiring is properly stapled and routed. If you ordered upgrades — extra outlets, a dedicated circuit for a home office, or an EV charger rough-in — now is the time to confirm they are in the wall, not just on a change order.
 Plumbing Rough-In
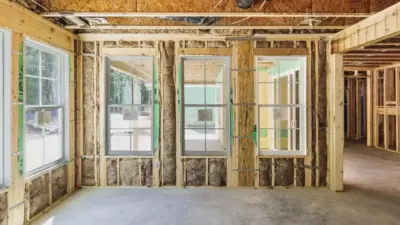
Check that drain, waste, and vent pipe locations match the plan for every sink, toilet, shower, tub, and refrigerator ice maker line. Verify the water heater location and size match what was contracted. If you ordered a gas line for a fireplace, range, or outdoor connection, it should be roughed in now and visible.
HVAC Ductwork
Trace the duct runs and confirm they are going to the correct rooms. Count the supply and return vents per room against your plan. Las Vegas summers are unforgiving — a missing return vent in a bedroom or a crimped duct to a bonus room will make that space uncomfortable for years. This is the moment to catch it.
Windows, Exterior Doors & Moisture Barriers
If windows are installed, verify they are square, properly shimmed, and sealed at the rough opening. Confirm the house wrap or moisture barrier on all exterior walls is intact with no tears or gaps — this is your home’s first line of defense against water intrusion.
Document Everything — Seriously
Take photos and video of every single wall cavity before drywall is installed. Photograph the electrical panel area, every plumbing rough-in, and every HVAC trunk line. Store these somewhere permanent — cloud backup, a dedicated folder, an external drive. Years from now, if you need to hang a heavy cabinet, add an outlet, or a plumber needs to locate a supply line, these photos will save you hours and potentially thousands of dollars.
Any concern you identify during the walkthrough should be submitted in writing to the builder immediately. A verbal conversation on a job site is easily forgotten. A written record — email is fine — creates a paper trail that protects you.
Buying New Construction From Out of State?
A significant number of Premier Homes’ new construction clients are purchasing from outside Nevada. Our new home specialist works with remote buyers regularly — he uses video walkthroughs and DocuSign so that out-of-state clients rarely need to be on-site. He visits construction sites consistently in person to check progress and address concerns before they become problems. If you’re relocating to the Las Vegas valley and purchasing new construction remotely, this kind of on-the-ground representation is exactly what you need.
What Comes Next: The Blue Tape Inspection
The pre-drywall walkthrough is the first of two major buyer inspections in a new construction purchase. The second is the Blue Tape Inspection — also called the final walkthrough or punch list walk — which takes place once the home is substantially complete, typically one to two weeks before closing. That’s when you and the builder’s rep walk every finished room together, placing blue painter’s tape on anything that needs to be corrected before you take ownership. We cover the Blue Tape Inspection in depth in a separate guide.
New construction can be a phenomenal path to homeownership in Las Vegas and Henderson — the ability to choose your finishes, lock in a brand-new home warranty, and move into something no one else has lived in is hard to beat. But it requires a different kind of representation than a resale purchase, and the pre-drywall walkthrough is one of those moments where having the right agent in your corner makes all the difference.
At Premier Homes, this is the exact guidance we walk every new construction client through — it’s not just blog content, it’s how we work with buyers every day. Whether you’re just starting to explore communities in the Las Vegas and Henderson area or you’re already under contract with a builder, Premier Homes Real Estate is always available to help. Reach out to our team any time — we’re here when you need us.